Build Guide 🫙 🌱
RASPBERRARIUM

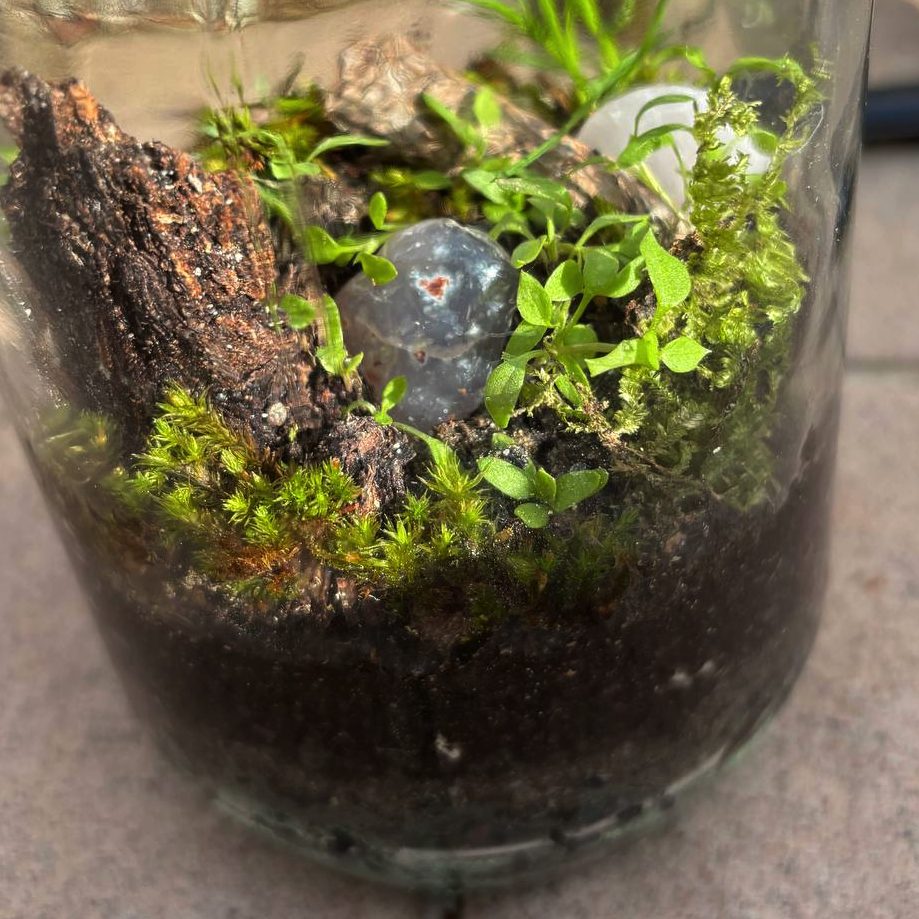
A tiny self-contained terrarium paired with a Raspberry Pi lighting system that simulates a full day/night cycle and the phases of the moon.
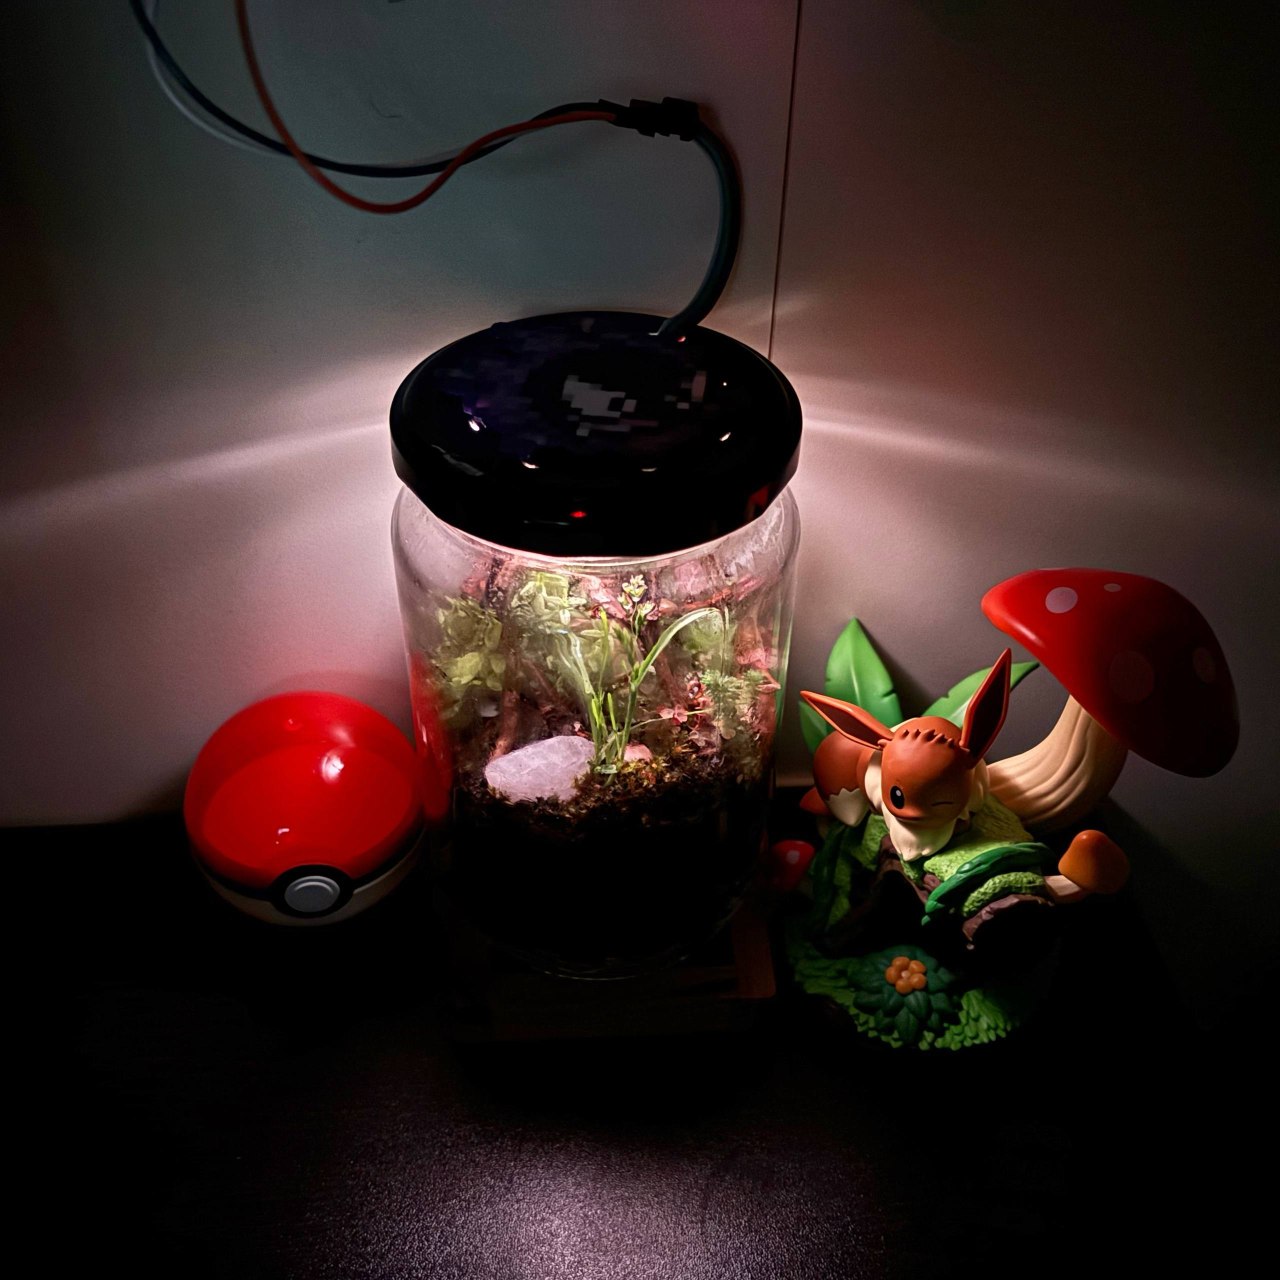
The finished Raspberrarium: a sealed jar ecosystem lit from above.
Everything in this build came from things I had around me. You don't need the exact jar, the exact materials, or anything you see in this tutorial or any other tutorial online. Use whatever you already have, and let your creativity guide you. Don't feel stuck: the best terrariums come from a bit of resourcefulness, not a shopping list.
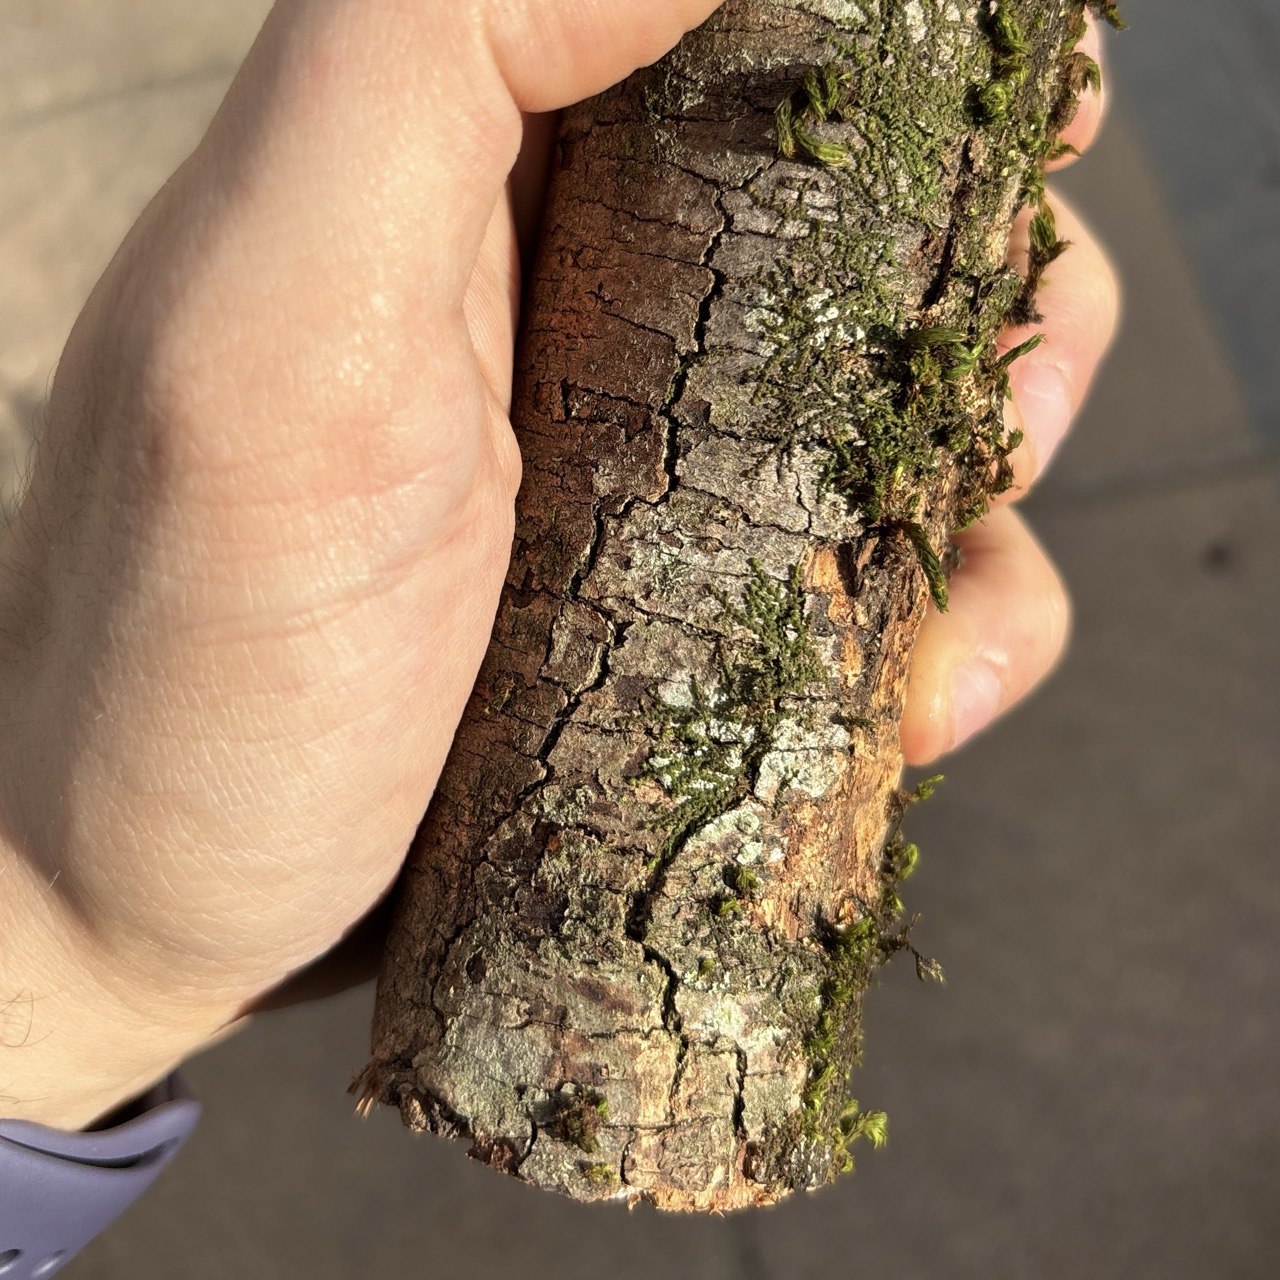
A branch (best with moss on it)
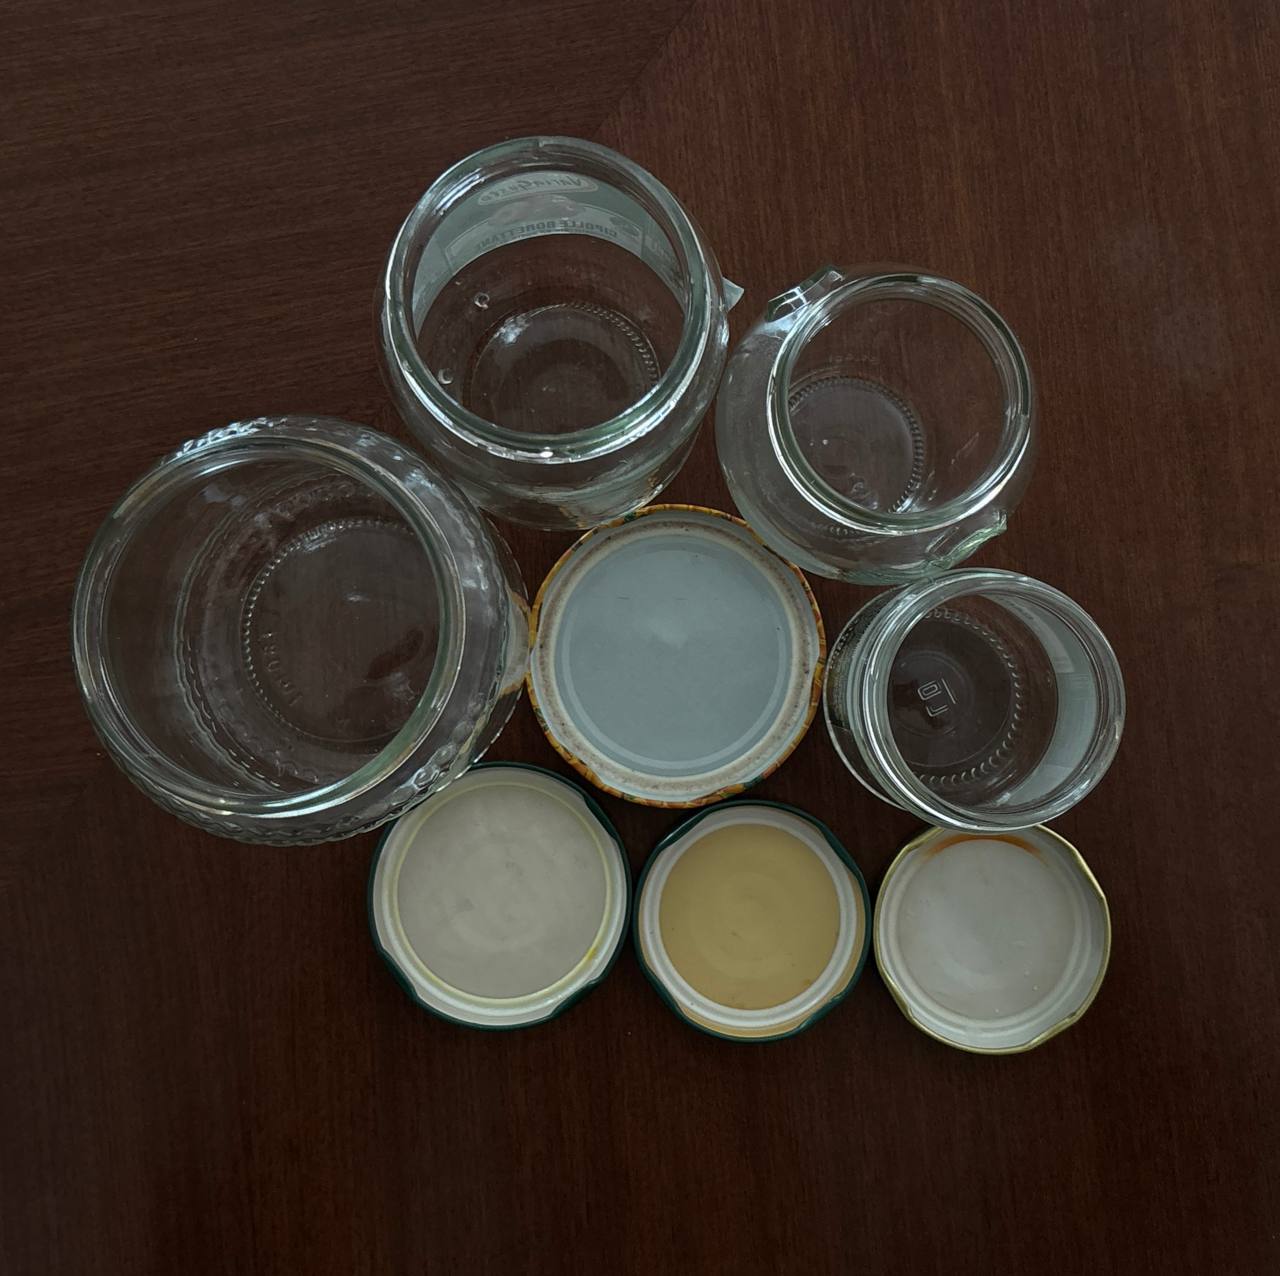
Containers
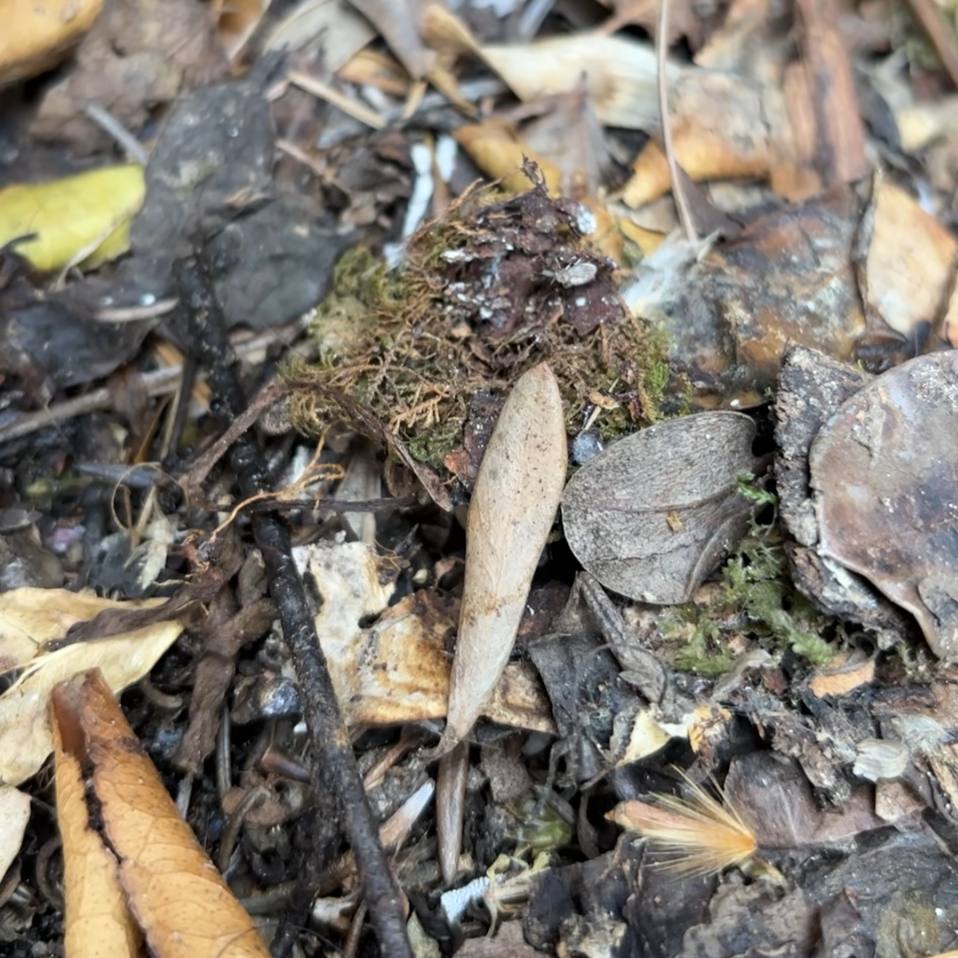
Leaves, branches, tiny insects
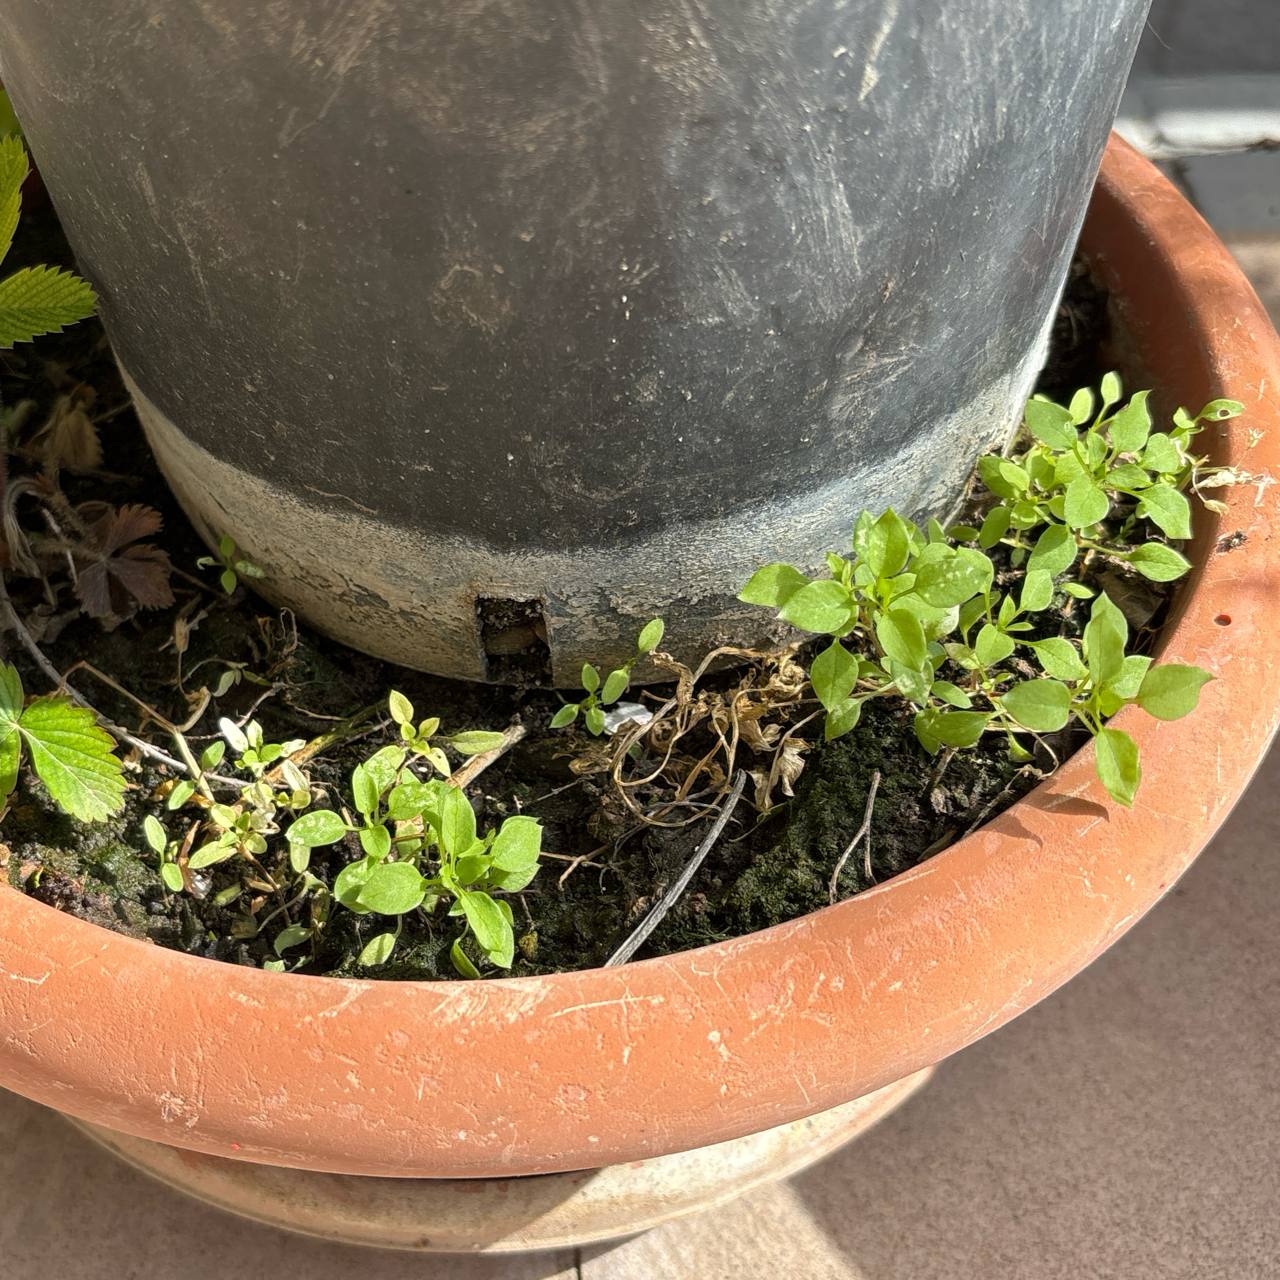
Plants
Overview
This guide walks through how to assemble the physical terrarium, from the layered substrate at the bottom of the jar to the lid that houses the lighting, ventilation, and watering points on top.
The electronics and software are covered in the
Raspberrarium code repository ![]() . Here we focus only on the build itself.
. Here we focus only on the build itself.
Materials
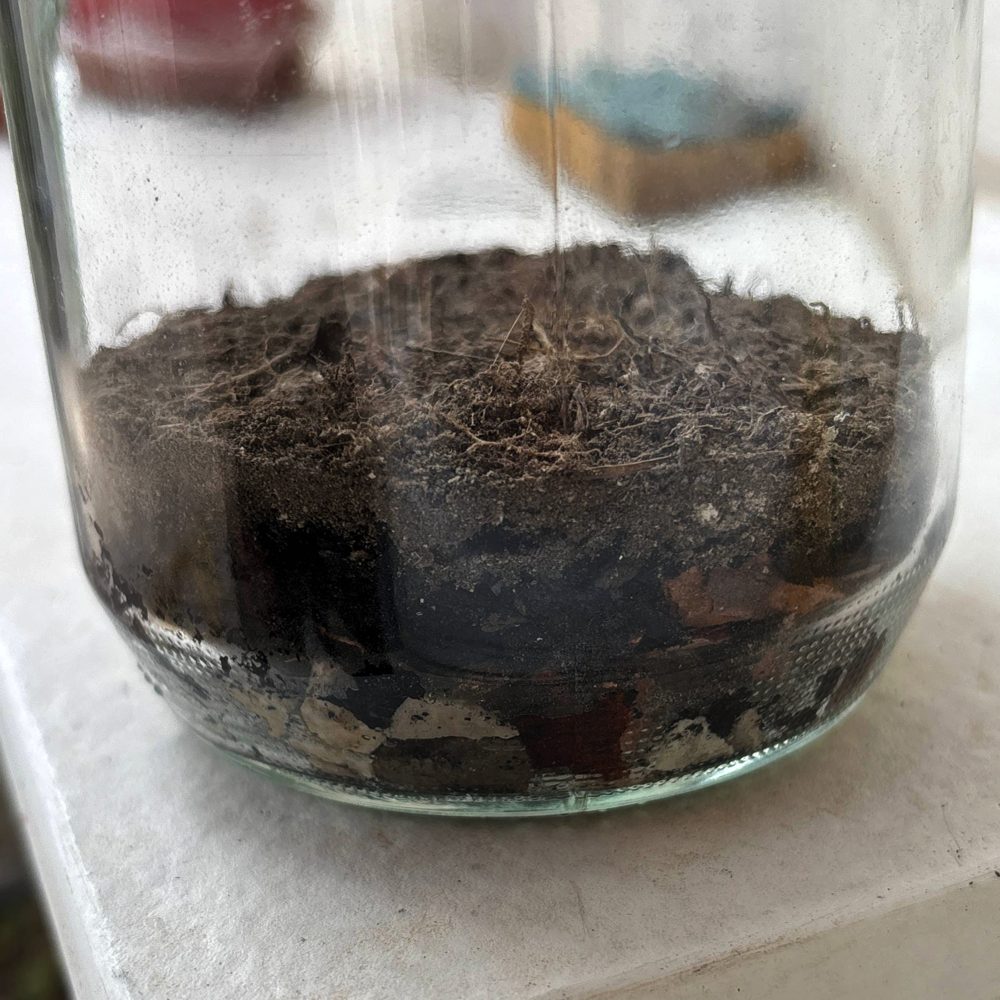
The jar used for this build.
- A small glass jar (the example uses one 8 cm (3.15 in) wide × 13 cm (5.1 in) tall)
- Gravel, tree bark, crushed charcoal, sand, ash, dirt, and soil
- A small piece of translucent plastic (used as a light diffuser)
- A thin piece of breathable fabric (polyester is better)
- Super glue and a syringe* for watering
On top of the physical build, the terrarium is lit by a small
Raspberry Pi setup that runs the day/night and moon-phase cycle. The
wiring, code, and setup instructions for that part live in the
Raspberrarium code repository ![]() . For the electronics you'll need:
. For the electronics you'll need:
- Two WS2812 LEDs (or a short LED strip)
- A Raspberry Pi and jumper wires
* The syringe isn't the only option. Another approach is to fit a thin transparent tube through the lid and seal it in place, so water can be poured directly into the tube. Adding a small piece of mesh or a grid at the outer end helps keep insects from crawling in or out. Use whichever method suits you best, and in either case try to avoid watering directly onto the leaves or letting any water reach the LEDs.
Base Layers
The base of the terrarium is built up in several layers. Each one has a role in drainage, filtration, or supporting plant life, and together they create a small but self-sustaining foundation.
As you add each layer, gently tamp it down with a spoon or any small flat tool to compact it evenly. This keeps the layers stable, prevents pockets of air, and helps the whole base settle properly before the next one goes on top.
The layers
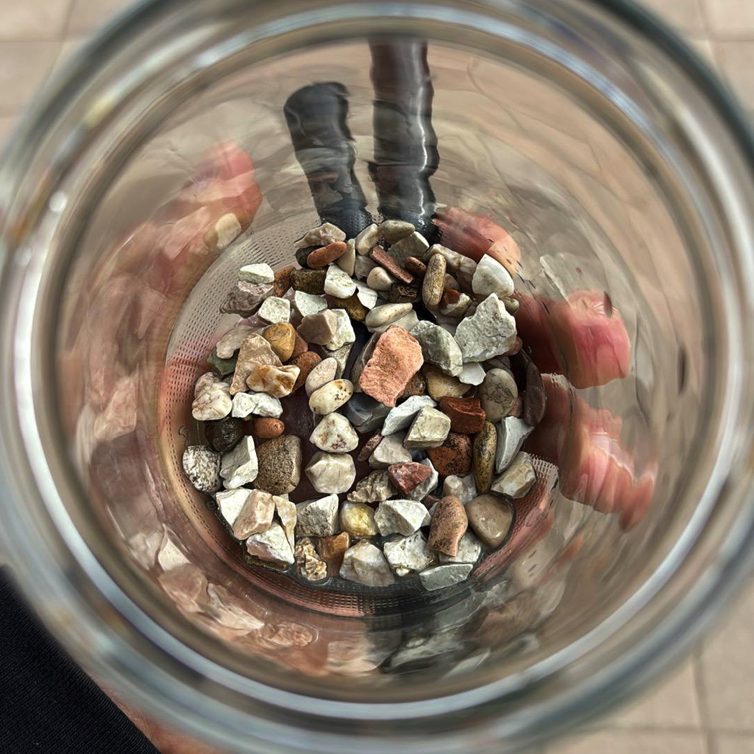 1
1
Gravel: drainage layer at the very bottom.
 2
2
Tree bark: adds structure and holds moisture.
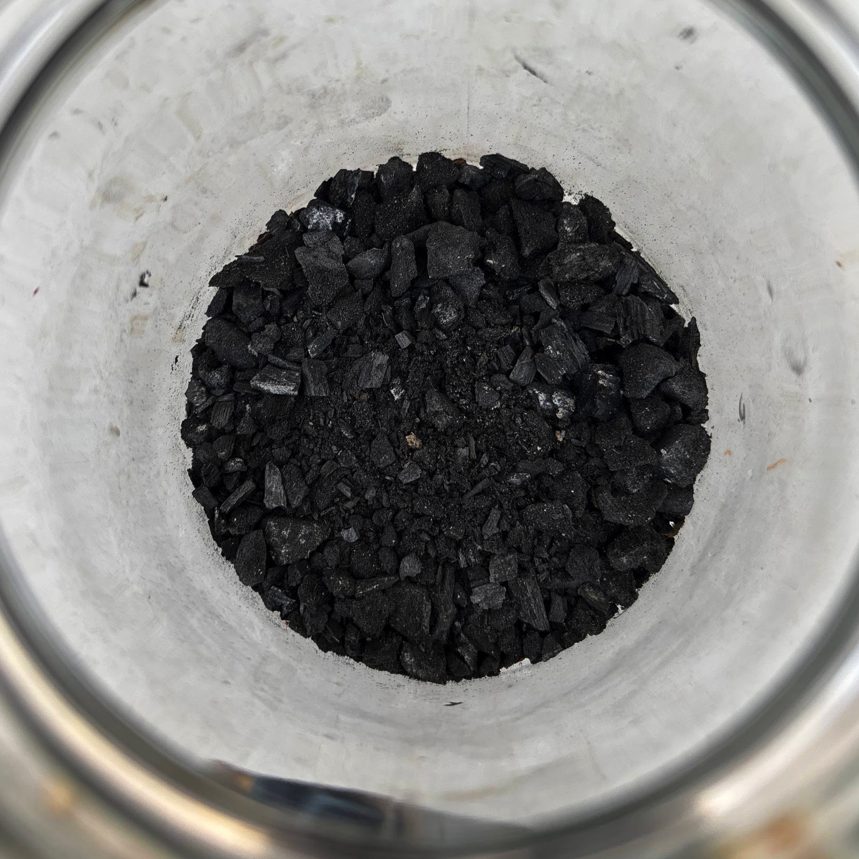 3
3
Crushed charcoal: filters the water and keeps things fresh.
 4
4
Sand and ash: a fine barrier between the lower and upper layers.
 5
5
Dirt: a middle layer with some organic content.
 6
6
Soil: the top layer, where the plants are rooted.
Side view of the layers
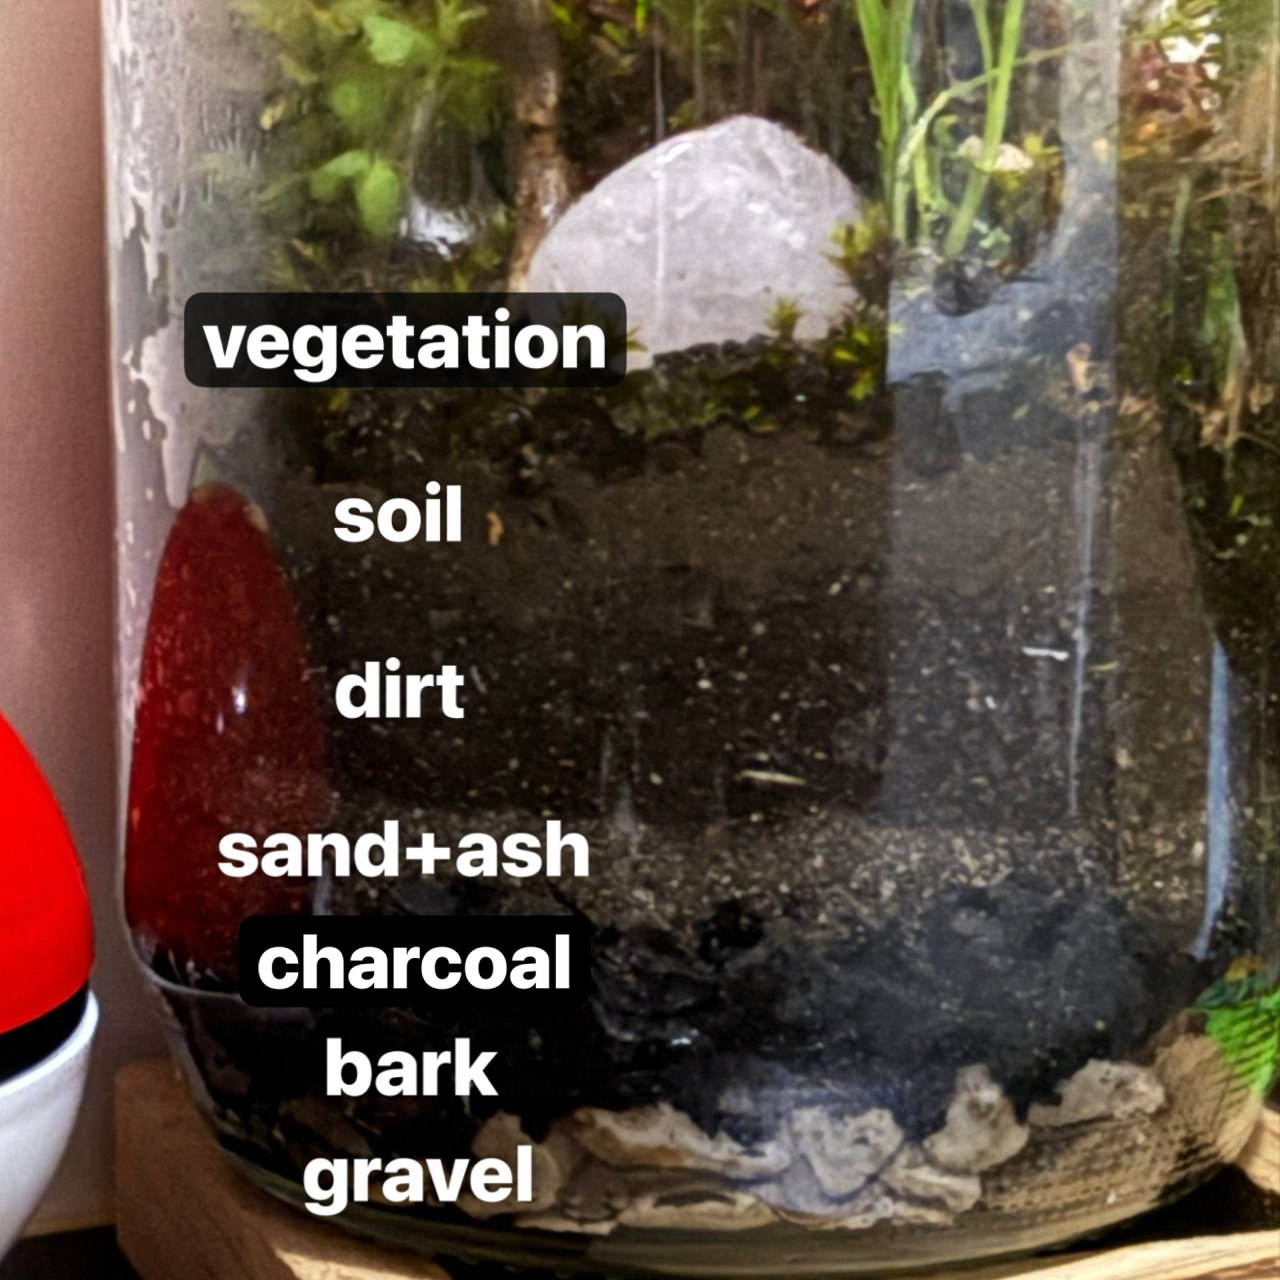
A side view of the finished base shows each layer clearly through the glass.
Lid, Lighting & Ventilation
The lid does a lot of work in this build. It holds the lighting, allows air to move, and gives you a way to water the terrarium without opening it again once it's sealed.
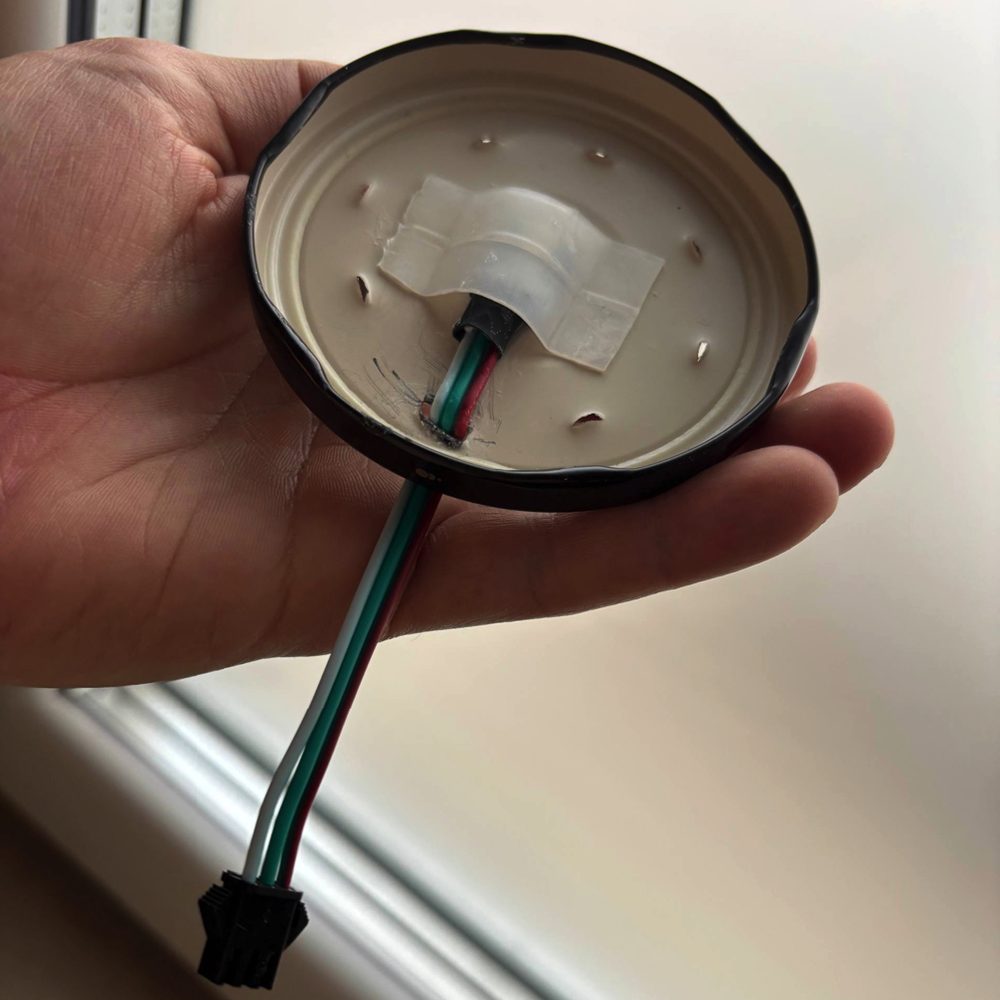
The lid has eight small holes punched through it.
Seven of those holes are used for ventilation and for adding water. The eighth hole is larger, and is used to feed the LED strip cables through the top of the lid. Once the cables are in place, a small drop of super glue keeps the LEDs in place. A small square of translucent plastic is also glued in front of the LEDs as a light diffuser: without it the LEDs look harsh and pinpoint, but the diffuser spreads the light evenly so the inside of the jar feels lit by a soft, ambient source rather than two bright dots.
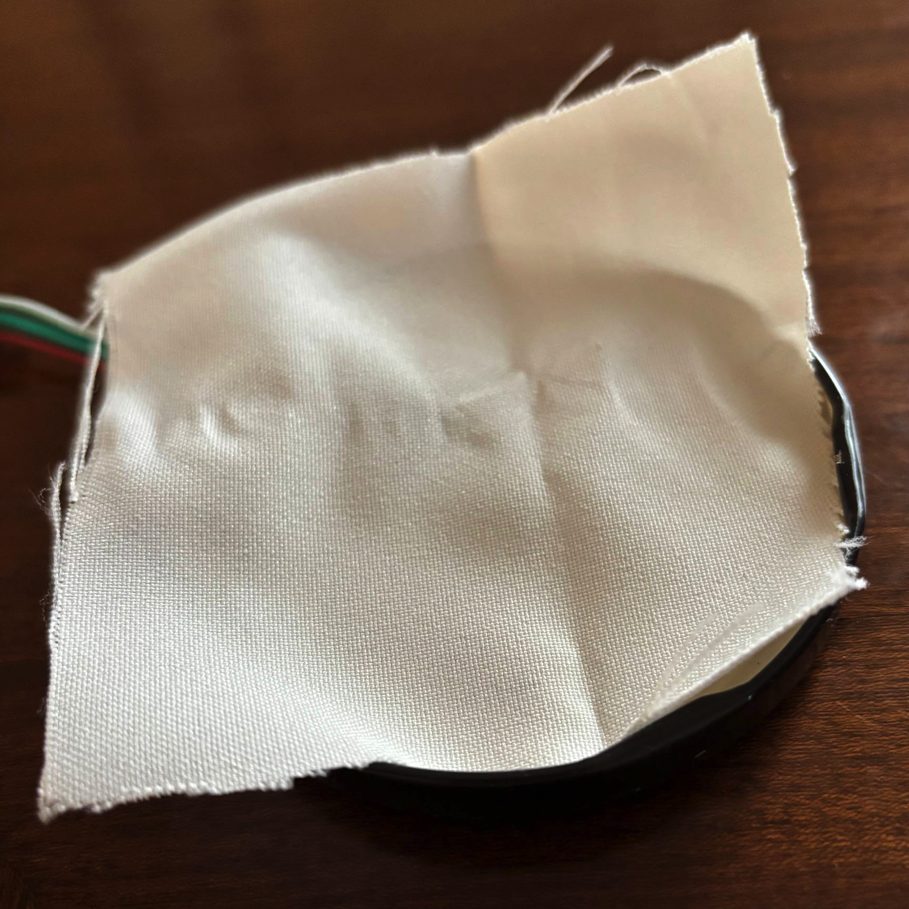
A thin layer of breathable fabric is placed under the lid before sealing.
Before closing the jar for good, a thin layer of fabric is laid across the opening. This lets humid air and excess moisture slowly escape through the tiny holes in the lid, which keeps the terrarium from rotting while still staying mostly closed. Once the lid is screwed on, any excess fabric sticking out around the rim can be trimmed off with scissors for a cleaner finish.
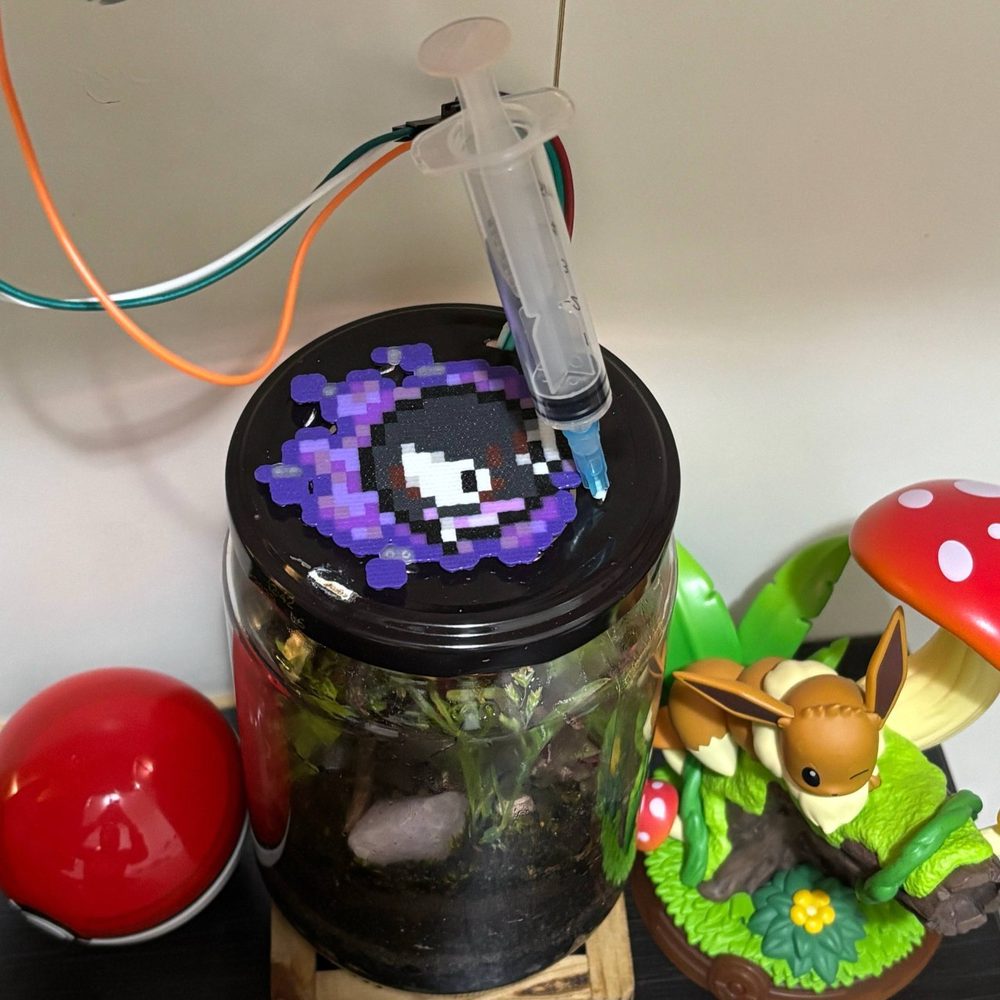
Water is added through the small holes in the lid with a syringe.
Once sealed, the terrarium almost takes care of itself. When it does need a small top-up, a syringe slides through one of the tiny holes in the lid, so the jar can be watered without ever being reopened.
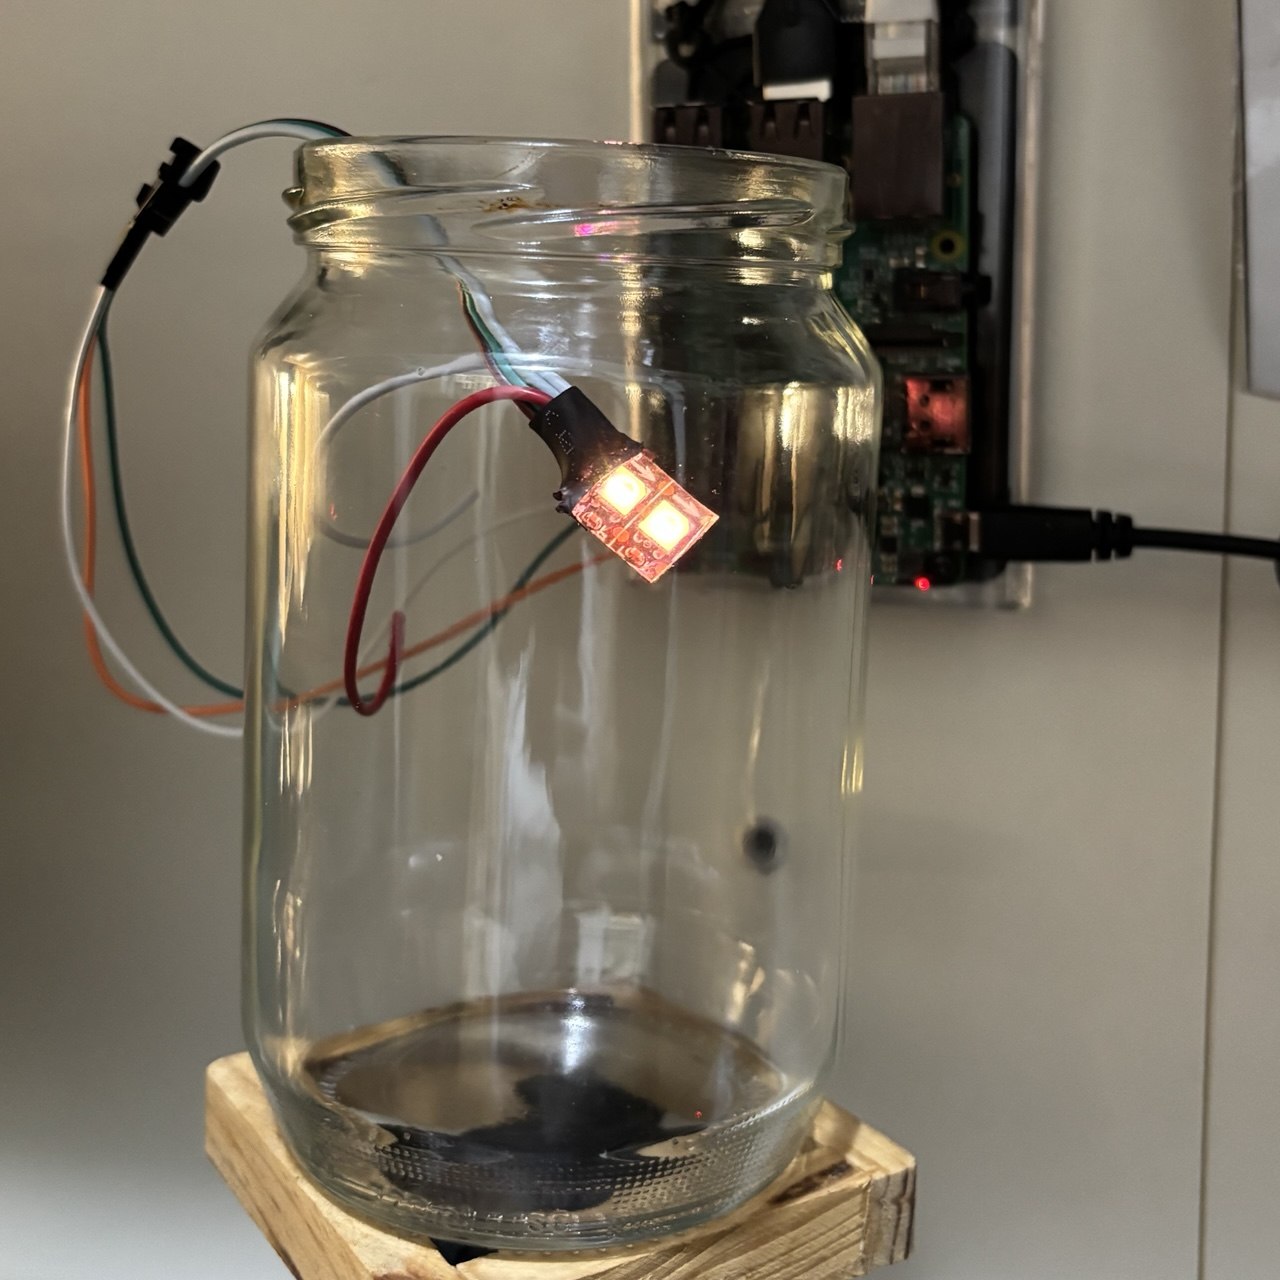
Lighting Concept
Sunrise, daylight, sunset, and night, all simulated by two LEDs.
The lighting system uses just two LEDs, but the effect is surprisingly convincing. The color and brightness are calculated in real time, accurate to the minute, which lets the light drift smoothly from sunrise, through midday, into sunset, and then through the night. The GIF above is a sped-up demo made from a shortened version of the code for illustration; the real code runs a continuous minute-accurate cycle over 24 hours.
The moon phases are approximated by balancing the brightness of the left and right LEDs.
At night, the two LEDs simulate the phases of the moon. A full moon lights both sides evenly; a waxing moon is brighter on the right, a waning moon brighter on the left, and a new moon goes dark. It's intentionally simplified: with only two LEDs the goal isn't astronomical accuracy, just a clean, readable visual effect for a very small space. This GIF is also a sped-up demo; in the actual build each phase lasts around a week, following the real lunar cycle.
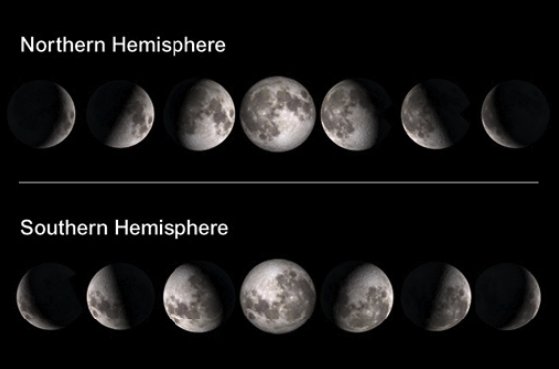
Moon phases as seen from the northern and southern hemispheres. Source: The Open University.
See it in action
The day/night demo script running on the real hardware inside the jar.
The clip above shows the demo script cycling through every phase of the
day on the actual LEDs inside the terrarium. The full source code,
including the demo scripts and the lighting engine, is available
in the Raspberrarium code repository ![]() .
.